My Observatory
A Work In Progress
I'm finally in the fortunate position where I can get the observatory that I've wanted for so many years. I'm really lucky to have a father-in-law who owns a shipping container business which among other things performs container modifications. so it's time to start out on the Container Observatory build.
To make an enquiry about
a shipping container observatory, please send an email to
Rick Johnson at
Western Containers.
My initial thoughts were around a roll-of-roof design however I ended up deciding on a dome instead. So in May 2012, the dome, along with the motor kit was ordered from Sirius Observatories. In July, I got a call from Sirius to say that it was ready to be picked up so my parents happily agreed to go on a 1 week vacation and drive from Sydney to Brisbane (~2,000km round trip) to trailer it back.
After much thought & discussion, I decided to go with a layout of 3 containers. 2 x 20' containers will be modified & joined together side by side to give me office space, storage space & a small veranda. A 10' container will house the pier / telescope assembly and will have a 2.3M Sirius Dome fitted to the top.
One of my main concerns with a container observatory is the internal heat build up. This will be addressed by lining the internals walls with high density foam panelling and covering the 2 x 20' containers with a shallow pitched roof.
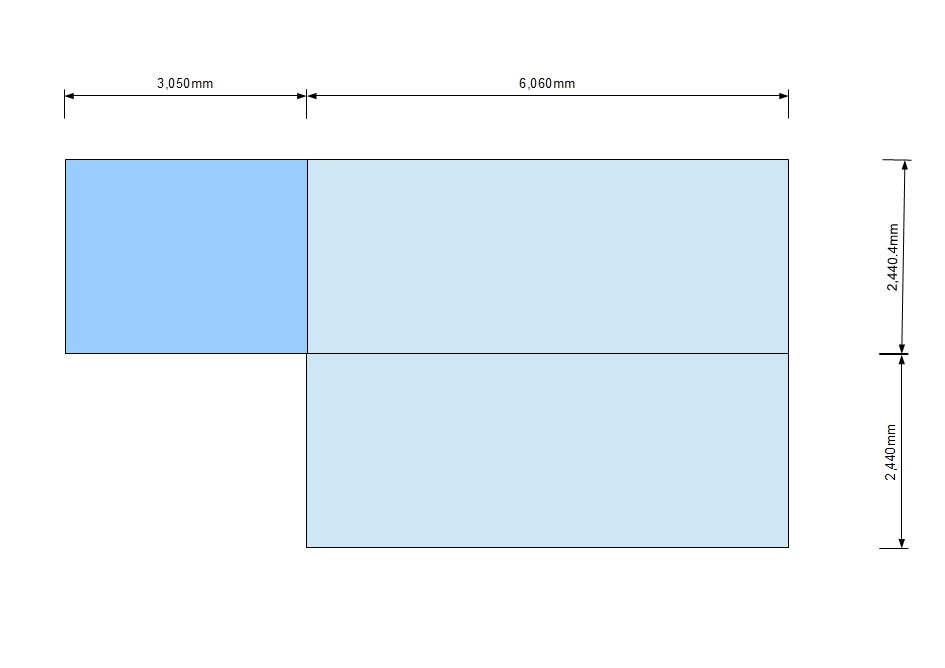
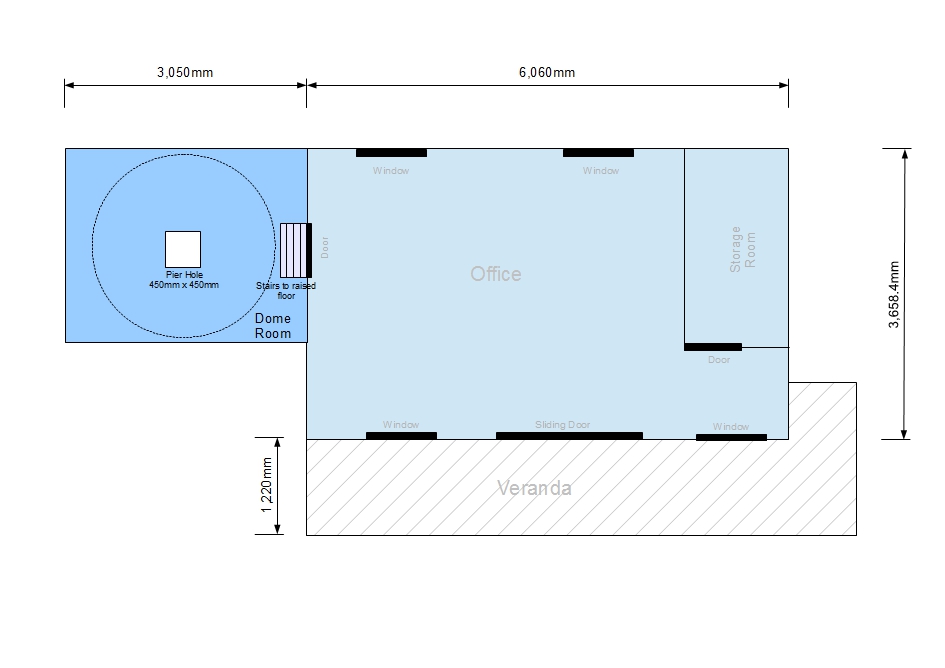
The following pages are a running history of the observatory construction.
22/12/2012
I took a trip into "the yard" today to see how things were progressing.
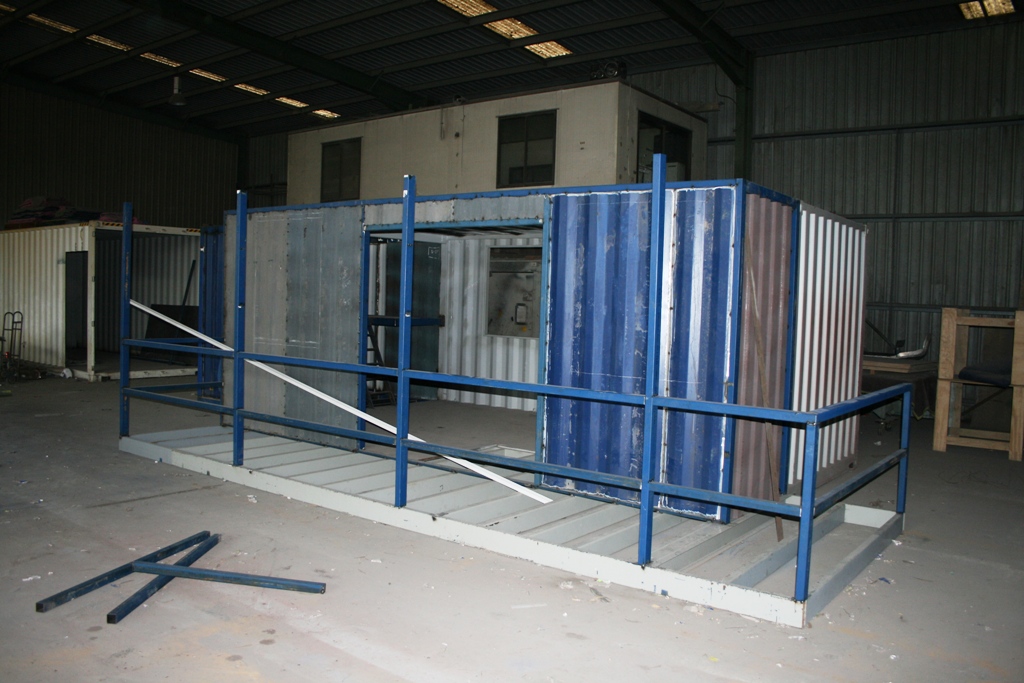
View from the front where you can see the 2 20' containers joined together. Half on the front container has been converted into the veranda. There will be a shallow pitched roof sitting above these 2 containers which should help keep the internal heat down.
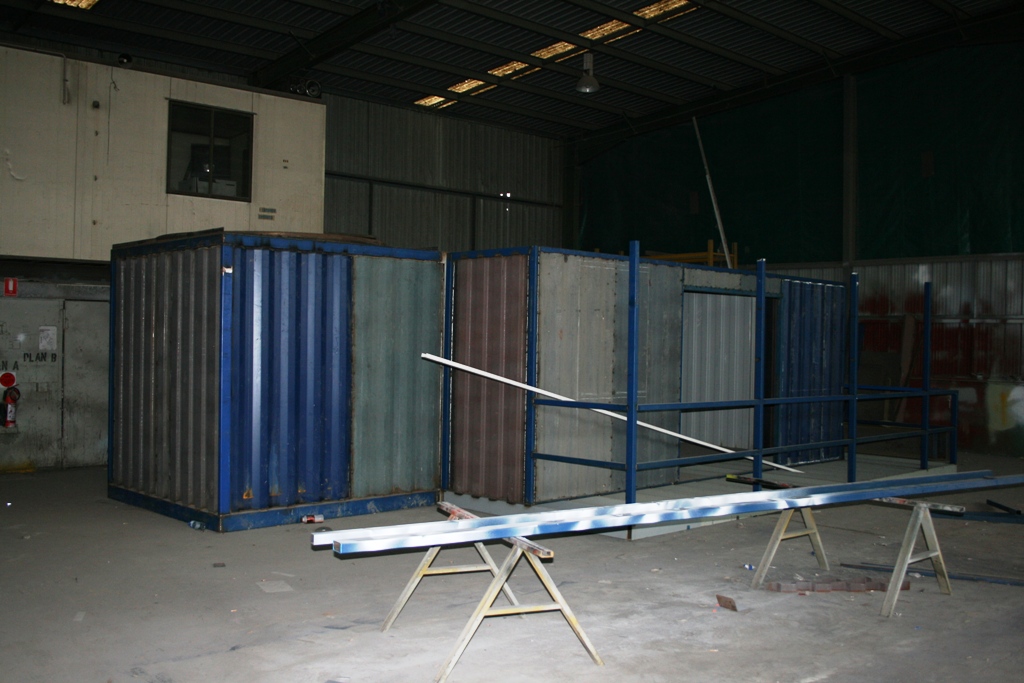
Another view from the front, this time showing the 10' container which will have the 2.3M dome mounted on the top.
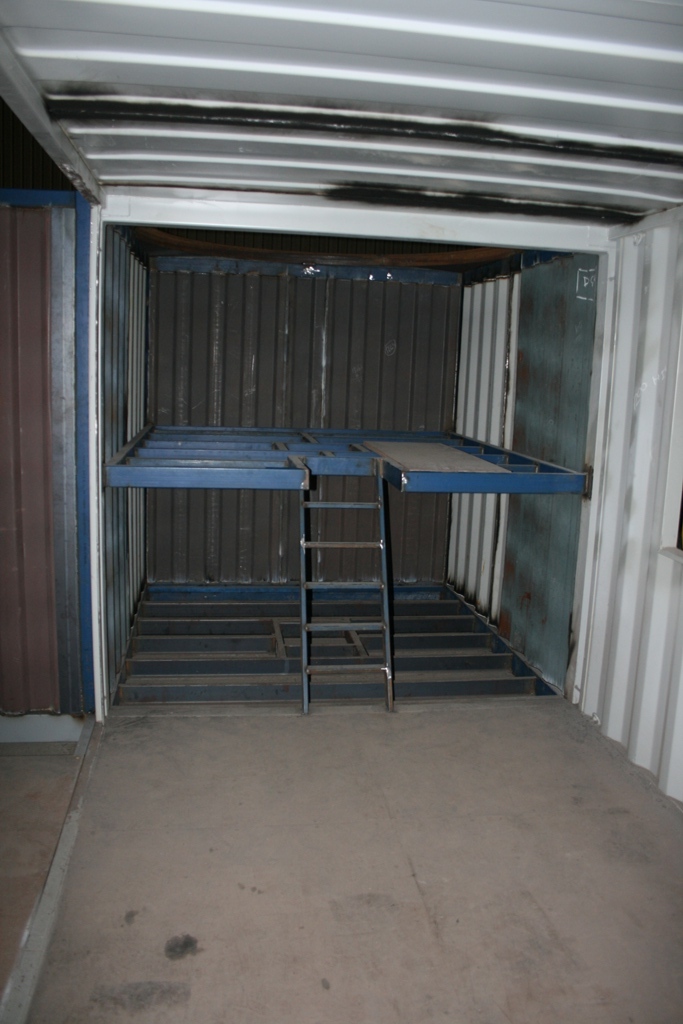
Inside view looking into the 10' container. You can see the observing platform with the ladder leading to it. You can also see the 450mm square hole in the container base and the raised floor through which I will have the cement pier, probably to the level of the raised floor. There will be a wall constructed between the office area and the 10' container to keep any light out.
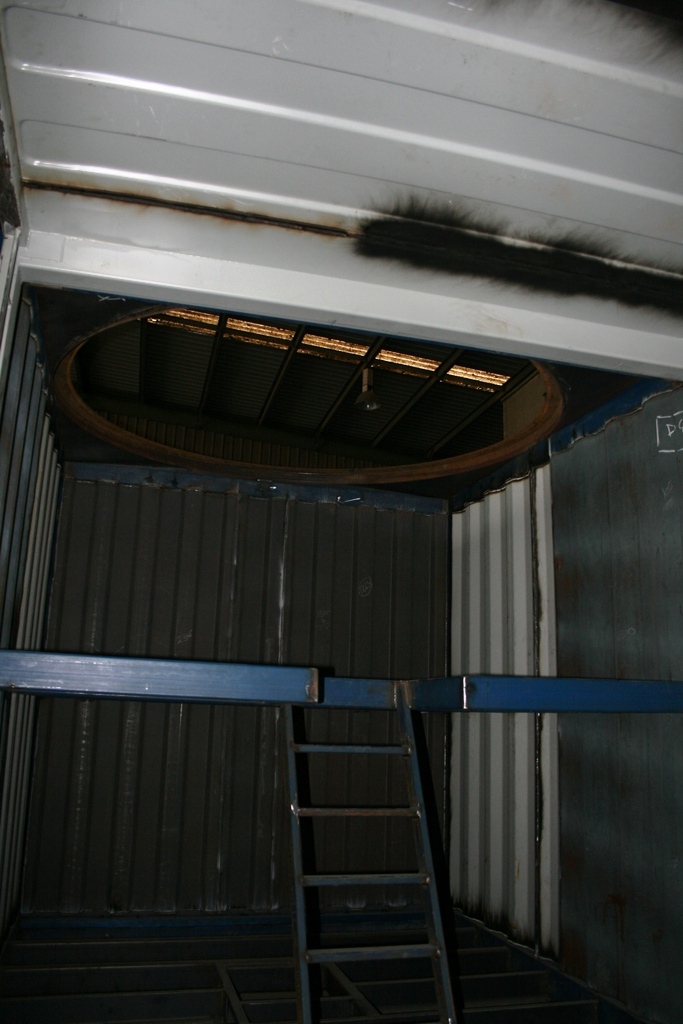
Another view into the 10' container. This time you can see the hole that's been cut for the dome to mount on. Not sure what I'm going to do with the space under the raised floor. May be a good place for a bed + storage.

This is a view from the 10' container looking back into the office area. The interior walls will all be clad in high density 50mm foam insulation panels to keep the inside temperature down on those hot summer days.
3/1/2013
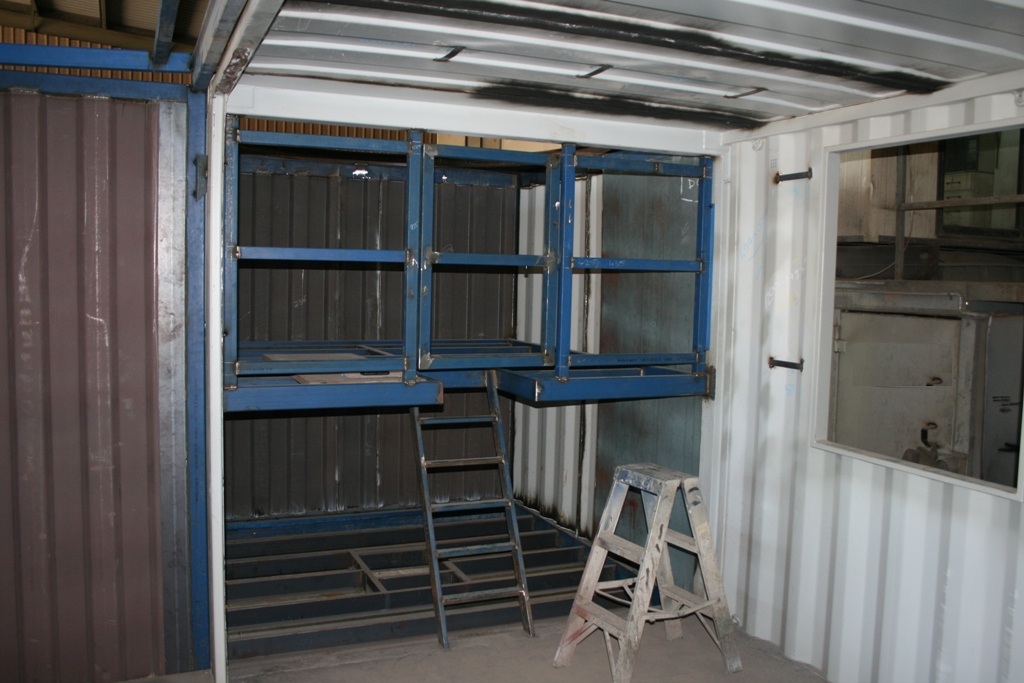
The observatory section will have the upper part walled off. Access will be via a swing out door (as seen in the above pic) and a hinged floor section at the stairs. The bottom section will remain open and will be used for storage.
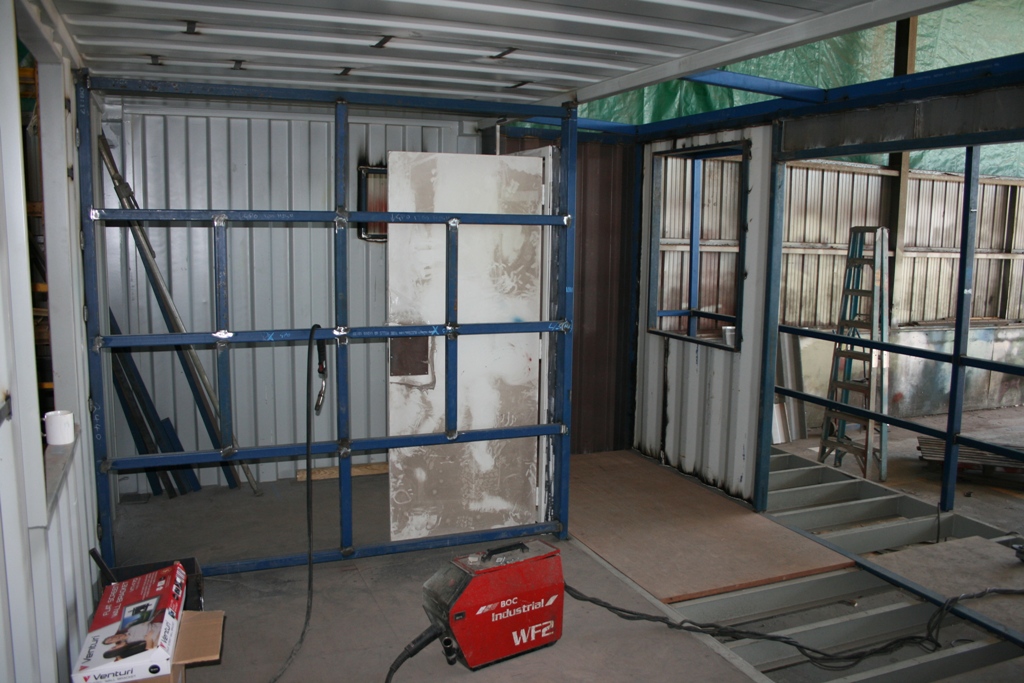
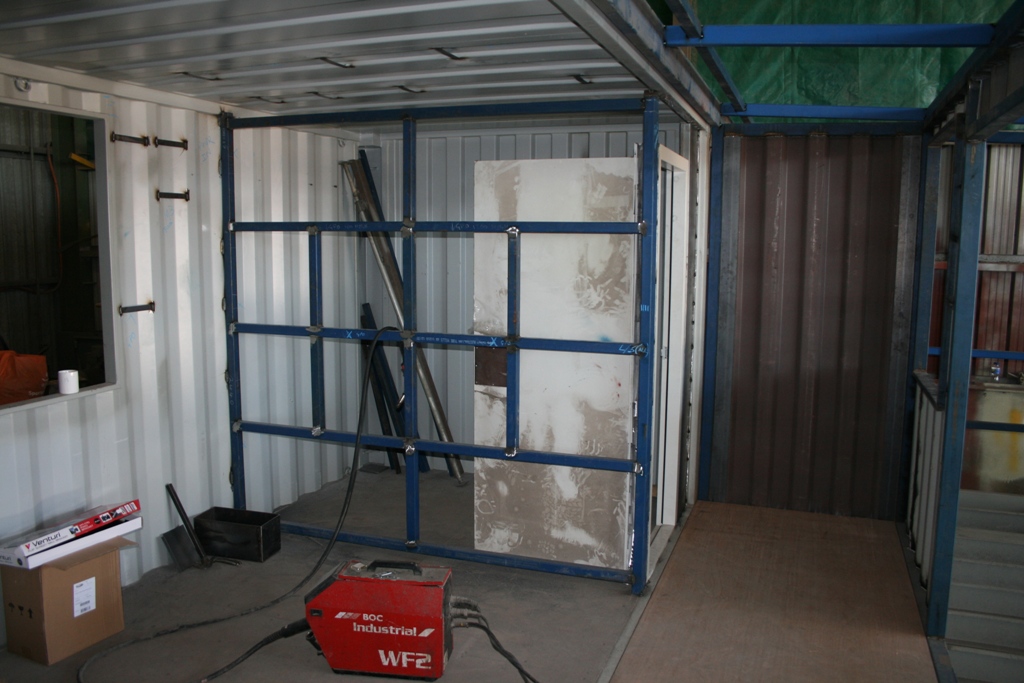
The above 2 pics show a view of the store room construction.
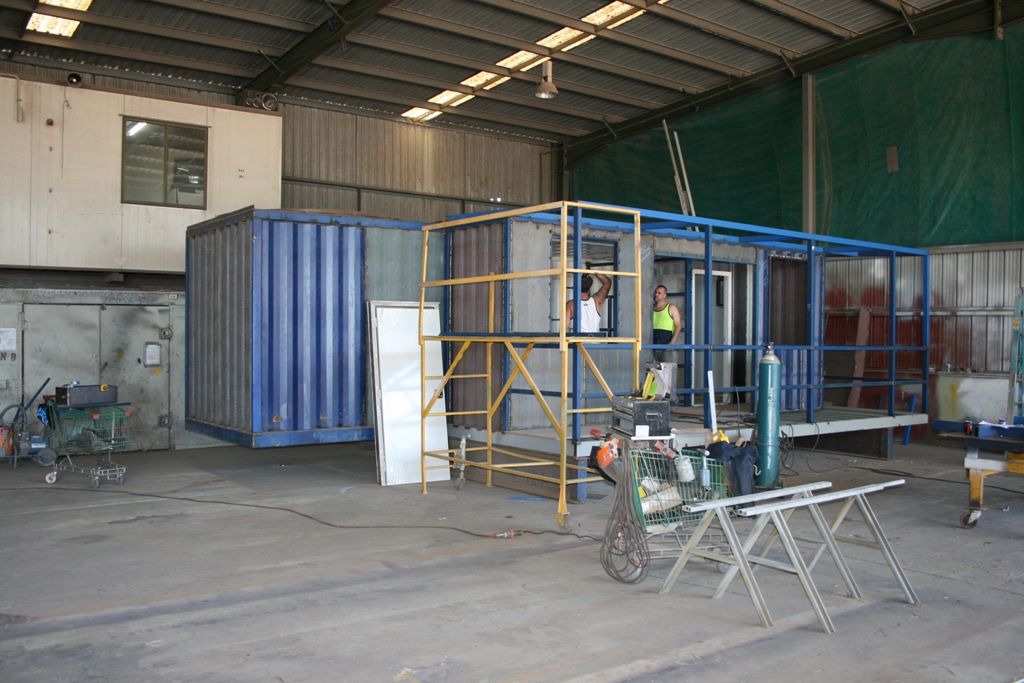
External view showing the obs sitting on the 2 structural I beams. Note how the observatory section will be "floating". The cement pier will rise through the 10' container section and will be completely isolated from it.
6/1/13
I finished pouring the 6 piers and pads which will support the I beams that the observatory will set on and finished digging the hole for the telescope pier.
14/1/13
I Poured the main telescope pier base today (with plenty of help from my father & father-in-law).
Shown above is the hole for the telescope pier. I have dug out a centre hole which goes down to bed rock to reduce any movement of the pier over time. All up, the volume of the base will be about 1.5 cubic Metres which equates to roughly 2 metric tonnes when filled with concrete.
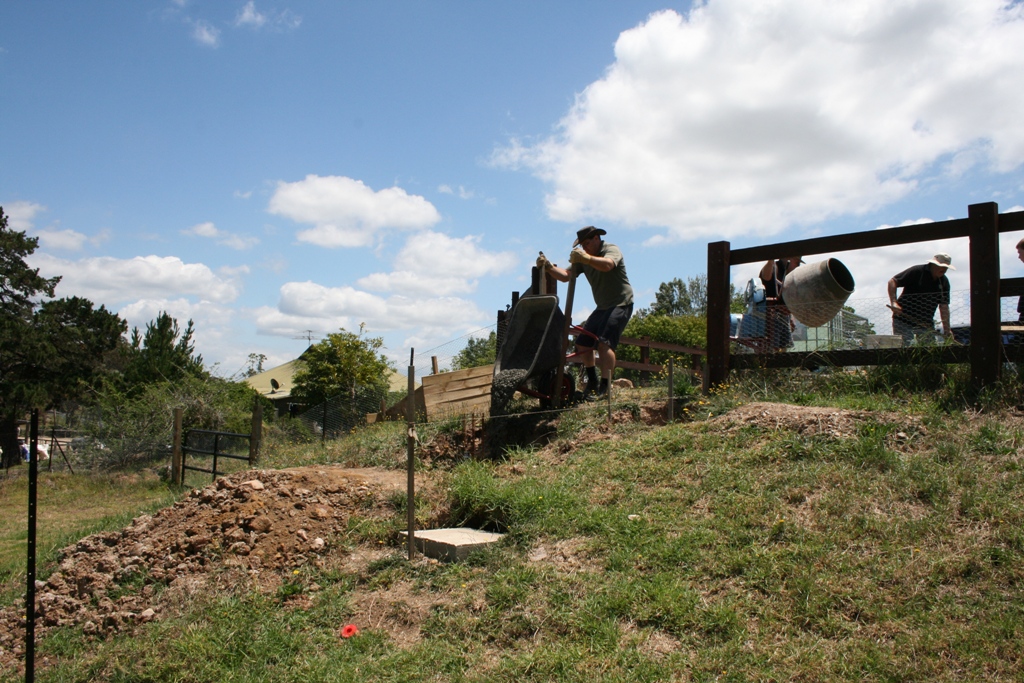
Ahhh. The joys of pouring cement! All up, it took about 3 hours of mixing and pouring.
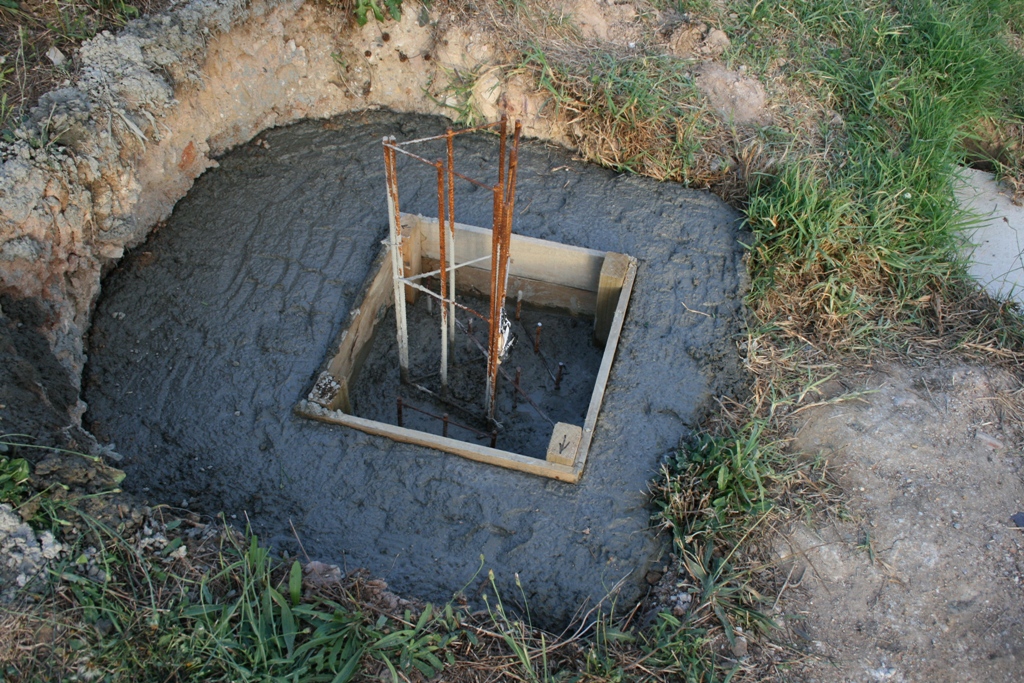
I have recessed a hole in the base so that I can pour the pier later on. The recess (200mm) and exposed reo should ensure that the pier will be firmly joined to the base an will not budge. I'm waiting to pour the pier once the observatory is in place so that I can ensure that it's accurately centred to make sure it's isolated from the observatory frame.
20/1/13
I spent today excavating the hill that the observatory will sit on to allow the structure to be recessed into the hill.
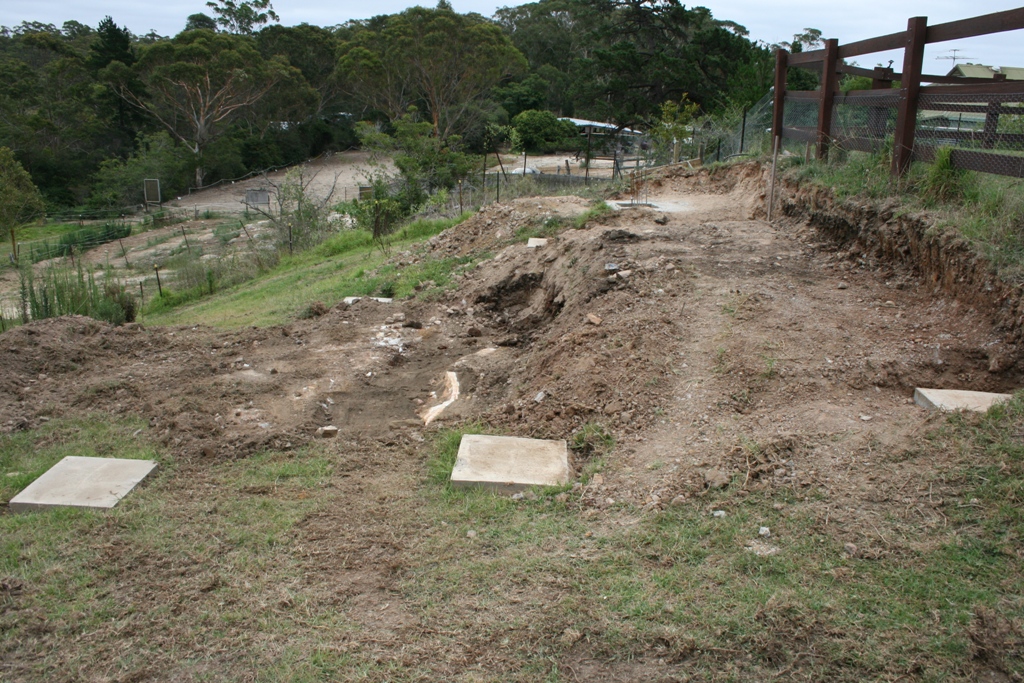
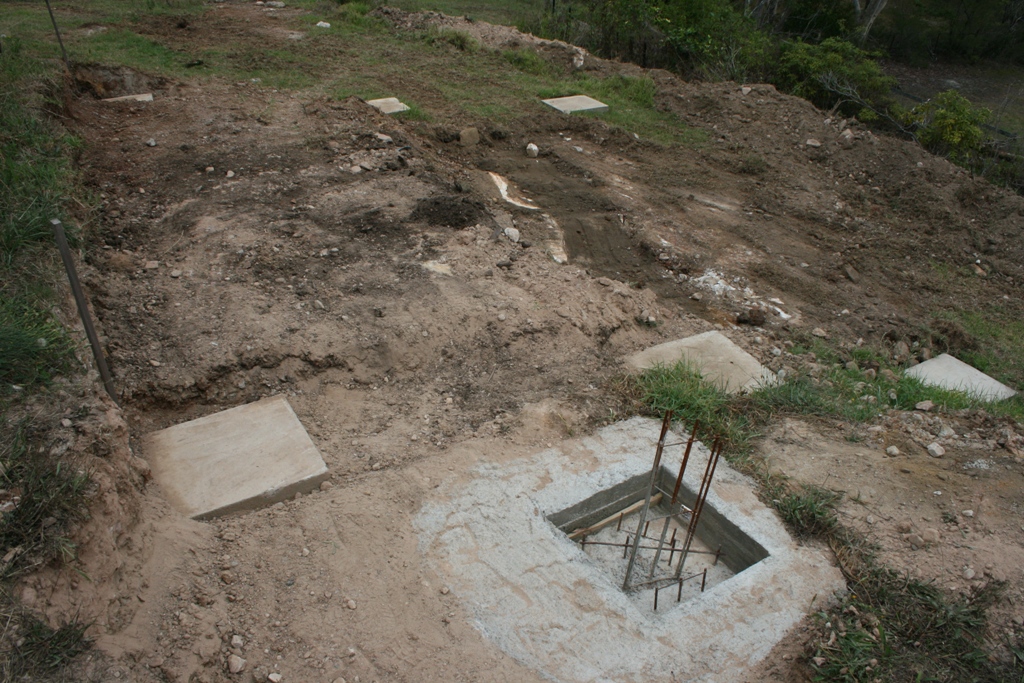
The above shot provides a good illustration of how the observatory will be positioned. Each of the 2 I-Beams will sit horizontally over 3 cement pads. Legs will be welded onto the I-Beams to support them on the bottom 2 pads.
23/1/13
The legs have now been welded onto the I-Beams on which the observatory will sit (see pic below) and they are ready to be sent away to be galvanised which will take about 10 days. Once they're finished, they will be transported directly to site and positioned ready for the obs to be mounted on top. The observatory modules have now been sprayed with a priming coat and are being cabled by an electrician (240 VAC power and Cat 5e data).
.jpg)
.jpg)
.jpg)
The above 2 photos show the front section which includes part of the office and the veranda.
.jpg)
The above photo shows the rear section of the observatory which comprises of the larger part of the office area, the store room and the observatory itsself.
1/3/13
I received some updated pics today. The container modules have now been painted and the insulation panelling has been installed. The internal walls have also been installed. Everything is now full steam ahead for delivery in the next 2-3 weeks.


4/3/13
I took an early morning delivery of the galvalised I-Beams upon which the observatory will sit. These things are huge and weigh well over 1 tonne each. I waited nervously to see if my concrete footings were in the right place. All was good in the end :-).
Please chains. Don't break!!!!!
My daughter spent time casting a critical eye on proceedings while my Les (my father-in-law) and I tried to man-handle these great chunks of steel in to place.
8/3/13 (The BIG DAY arrives)!!
And I'm stuck in Melbourne on business. I fly home tonight. Tomorrow will be a busy day.
The observatory arrived at my home in Arcadia and was delivered to the back paddock on 2 40' trucks accompanied by Hiab truck. Everything lined up well and the 2 container sections were placed on the I-Beams without any problems.
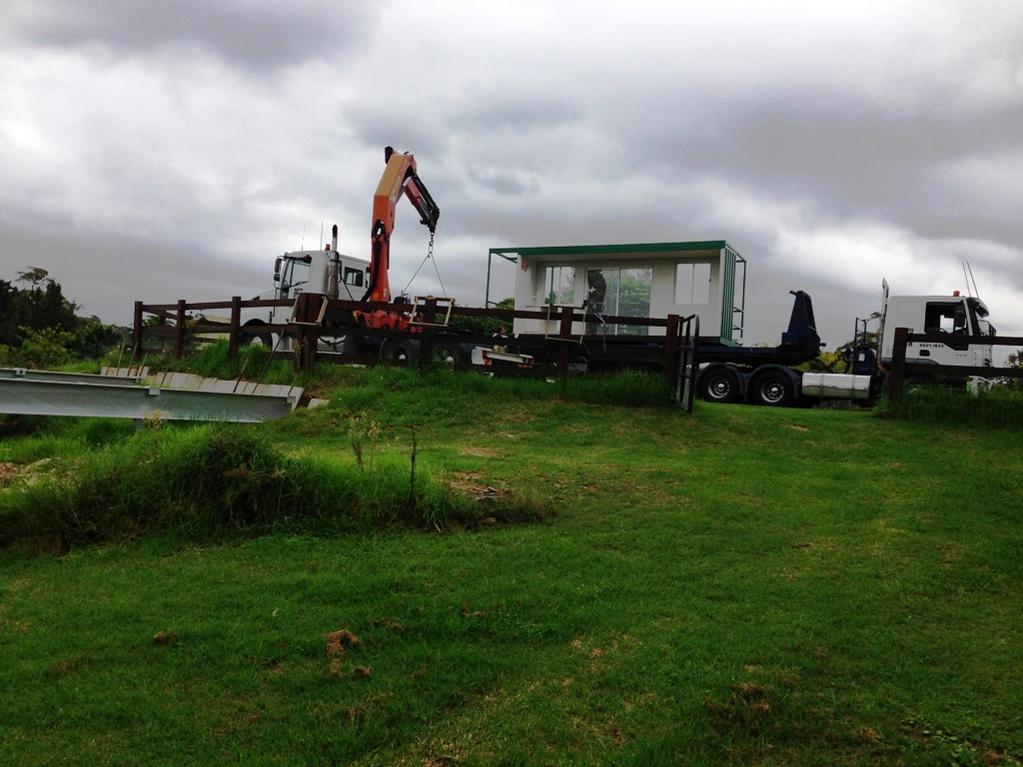
9/3/13
Dome installed.
Installed the stairs.
30/3/13
Installed the roof guttering. I will leave the down pipes until the water tanks are in place.
Sealed and the bolted the dome onto the metal O-ring of the observatory section.
Started painting the internal wooden walls white.
14/4/13
Les & I spent today pouring the 300mm diameter cement pier up into the observatory today. All up, 3 hours of intensive mixing in a wheelbarrow followed by carrying bucket loads of wet cement into the observatory, up the ladder into the dome room and pouring down the tube until it was filled. We're both now very sore and tired but I'm glad it's finally done.
The top of the cement pier, just waiting to bolt the metal pier onto the top now.
19/5/13
I've been busy over the last few weeks.
-
I've finished painting the interior.
-
Carpeted the main office section
-
I've installed and painted the metal pier
-
Finally moved the furniture in
-
Run temporary power to the obs (until I can dig a 90M trench to run power and data).
Somewhere to sleep while I'm waiting for those sub frames to finish. Still need to carpet under the dome room.
I do like my 40" PC monitor. Doubles as a TV when the clouds come over.
The man cave :-)
View from the bottom of the ladder looking up into the "dome room".
Ahh. My own store room. I wonder how long it will be before "other stuff" starts finding its way in there?