Pempro Fun & Games
After much deliberation and trialling, I decided to fork out the US$149 ($AU190) for a copy of Pempro. I had read a number of reviews and from all accounts it appeared that this software has a very good reputation for significantly reducing the PE of various mounts, the LX200 included. The online purchasing process was quick and easy and in no time I was up and running with a fully registered version.
Pempro purports to assist in 3 areas:
PE Correction
Polar Alignment
Backlash refinement
One of my drivers for purchasing this software is that my mount required improvement in all 3 aspects. The following is a description of my Pempro experience.
Initial Setup
In order to perform the various operations on your mount, you must fist set Pempro up to be able to communicate with your mount and camera and to be aware of your mount's characteristics and camera orientation. This is done by running through a couple of Wizards.
I began by running through the Mount Wizard which was pretty straight forward.
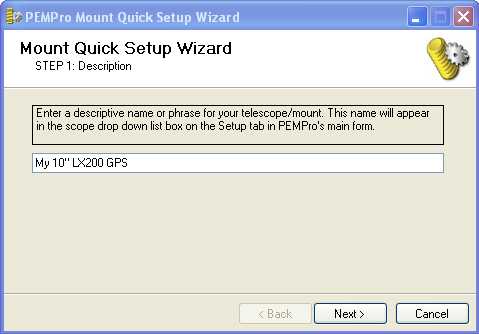
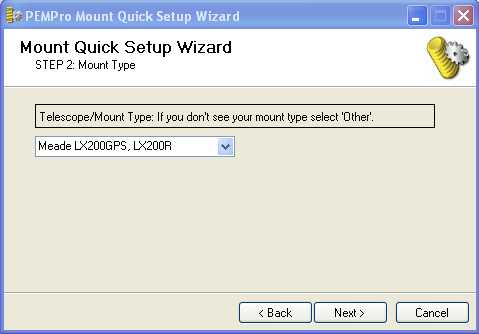
I selected LX200GPS as my mount type which loads a number of pre-defined mount settings.
I selected ASCOM as the mount interface and entered the correct COM port.

I then selected Meade DSI Pro II in the camera settings and ticked the "Southern Hemisphere" checkbox as I'm located in Australia.
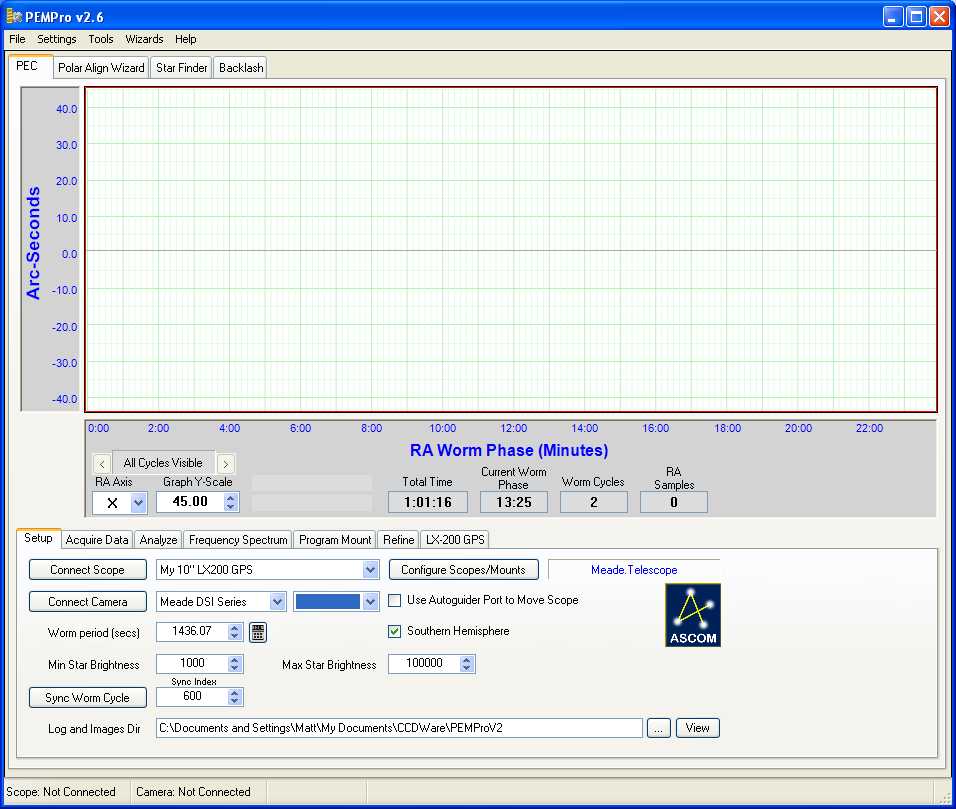
I then ran the Calibration Wizard which takes several images whilst sending commands to the mount in order to determine the current orientation of the camera and the reaction of the mount to tracking commands. In my experience, it turned out to be critical for the Meade DSI Pro II that you must first start Envisage and select an exposure time the same as you will be using in Pempro (I used 1 second). This appeared to be the only way that I could get reliable centroid detection in Pempro.
PEC
PE Correction is the main reason I decided to purchase Pempro. In order to get those nice round stars in my long exposures I have been trying to guide out any PE in my LX200GPS mount. After implementing Dick Seymour's LX200 Autostar patch and using Andrew Johansen's MyScope utility to train the PEC, I have been able to achieve some reasonable results but I'm hoping that with the low level refinement available in Pempro I will be able to achieve a PE close to 5 arc seconds.
I started by using the Star Finder tab to make sure a reasonable bright star was centred in the field of view. I then went to the Qcquire Data Tab and clicked on the Start button. At this point, Pempro came up with an error stating that it was unable to locate a centroid. I tried this a few more times with no luck. The star looked ok in the Star Finder window but when it came to detecting the star for the PEC measurement, it failed each time. A quick check of the manual informed me that this problem could be resolved by first running the Meade Envisage software and importing the camera values (Gain & Offset) into Pempro via the camera settings menu. I tried this out and it fixed the problem.
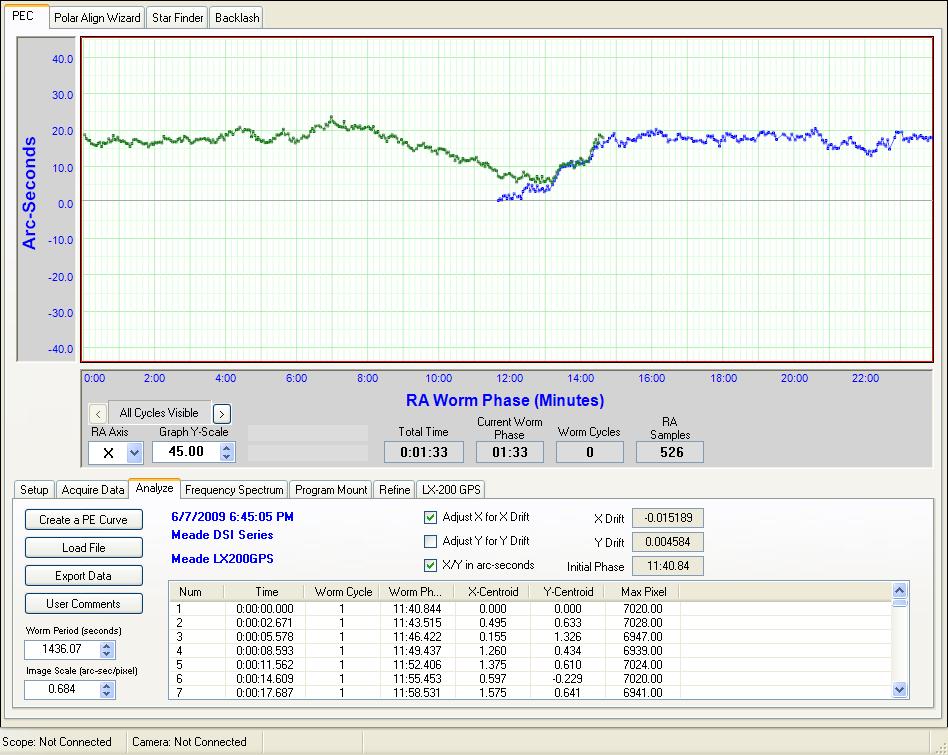
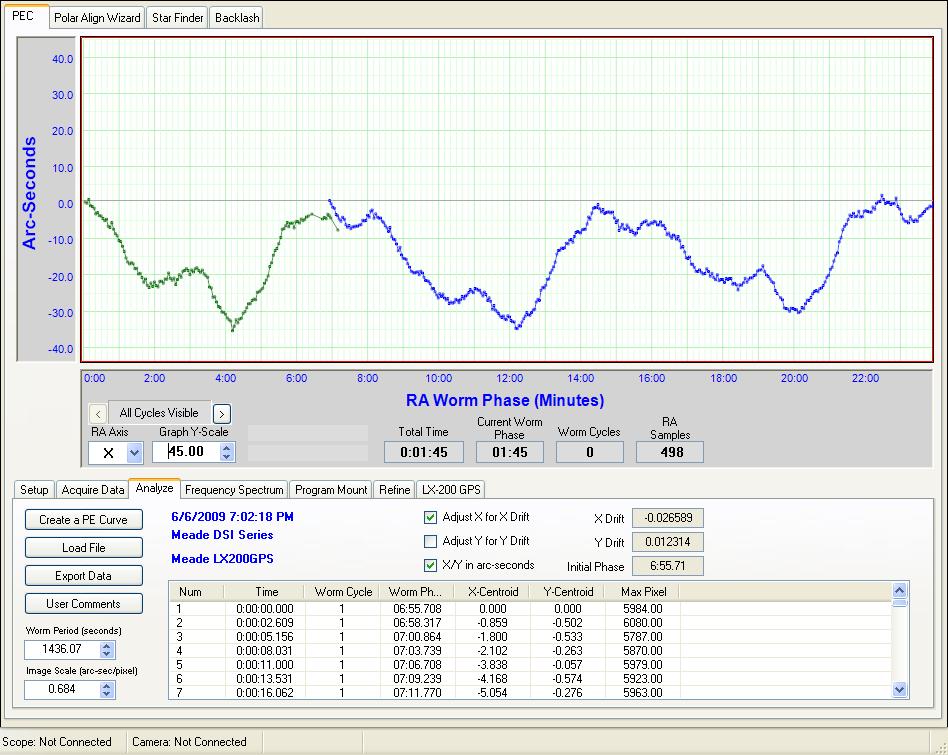
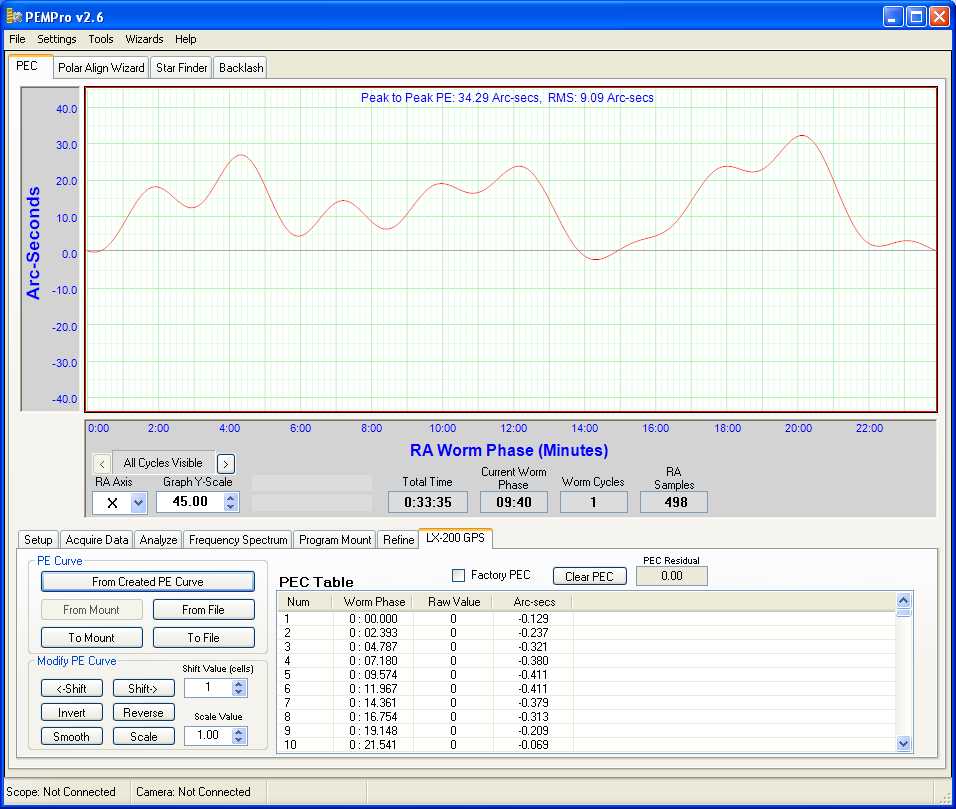
I was then able to successfully perform an initial PE measurement with PEC turned off on my LX200GPS. From the results below, you can see that my mount has a natural PE of about 35 arc seconds.
By clicking on the Create PE Curve button, Pempro then uses the data captured in the initial PEC measurement to create a PEC curve (shown in blue below). This is the curve that's written back to your scope). The goal here is to get the RMS Error value (top right hand corner of the window) to be as low as possible. I did this by changing the Drift Filtering method (there are several to choose from).
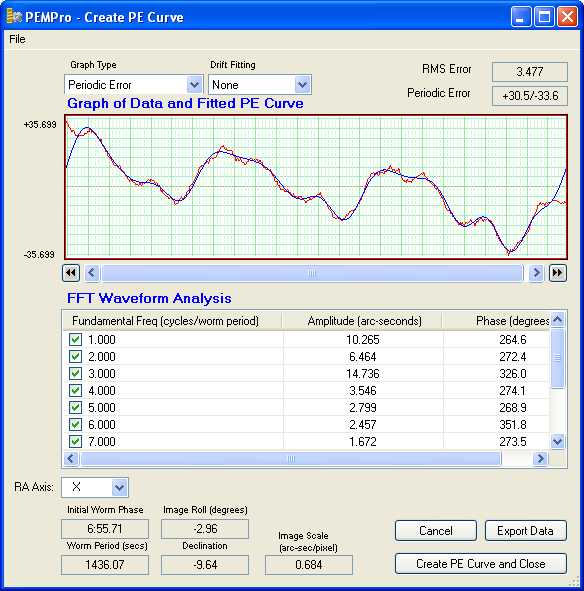
After trying them all, I found that a Filtering method of "5th-Order" gave me the best results. I then pressed the Create PE Curve and Close button. This creates the curve which is the data that will be written to your mount and places it in the active curve buffer. I then clicked on the LX200 tab.

I imported the curve onto the screen by pressing the "From Created PE Curve" button and then uploaded the new PEC curve to my mount by pressing the "To Mount" button.
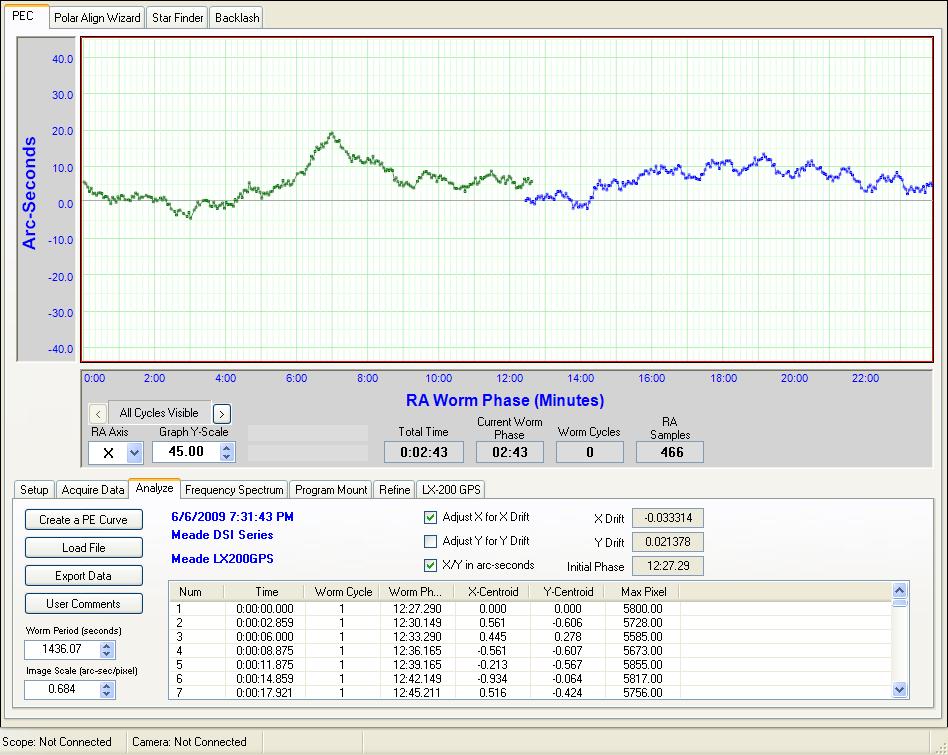
In order to determine the residual PE with the new PEC curve applied, I then performed another PE measurement, this time with the RA PEC turned on in my mount. As you can see below, it appears to have reduce the PE to ~25 arc seconds. Not that big a reduction!!
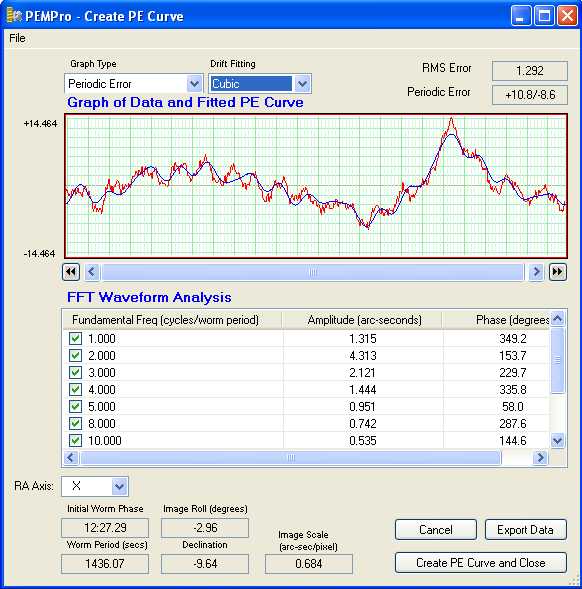
I then created a new PE curve from this data by pressing the Create PE Curve button. This time, I achieved the lowest RMS Error by using the Cubic Drift Fitting method. I then wrote the new PE Curve to disk by pressing the Create PE Curve and Close button.
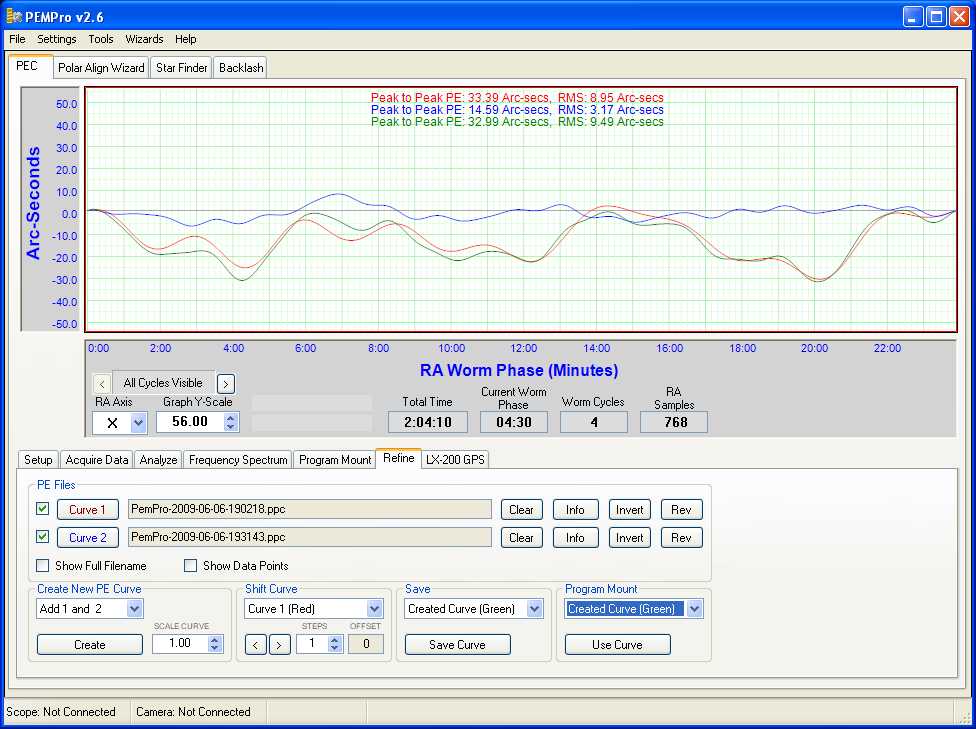
I had read that your could further refine your PEC curve by combining the original PEC curve and the residual PEC curve. The resulting curve could then be applied to your mount. This is all done in the Refine Tab. I loaded the initial curve (Curve 1 - red) and the residual curve (Curve 2 - blue) and selected Add 1 and 2 from the Create new PE Curve box. Pressing the Create button created the new curve (Curve 3 - green). I then saved this new curve and pressed the Use Curve button to place it in memory. I then changed to the LX-200 GPS Tab and imported the new PEC Curve by pressing the From Created PE Curve button and then wrote it to the mount.
I then measured the PE of my mount with the new combined PEC Curve in action. As you can see below, the PE with this curve loaded is now about 18 arc seconds. I was hoping for something better. After taking a look at the help files again, I decided to retry the process, but this time I would capture more PE data per sample (measure the PE for longer than just 1 PEC period) and I would also try applying fundamentals. The results can be found here.
